SLA 3D Printing Services for Detailed Resin Parts
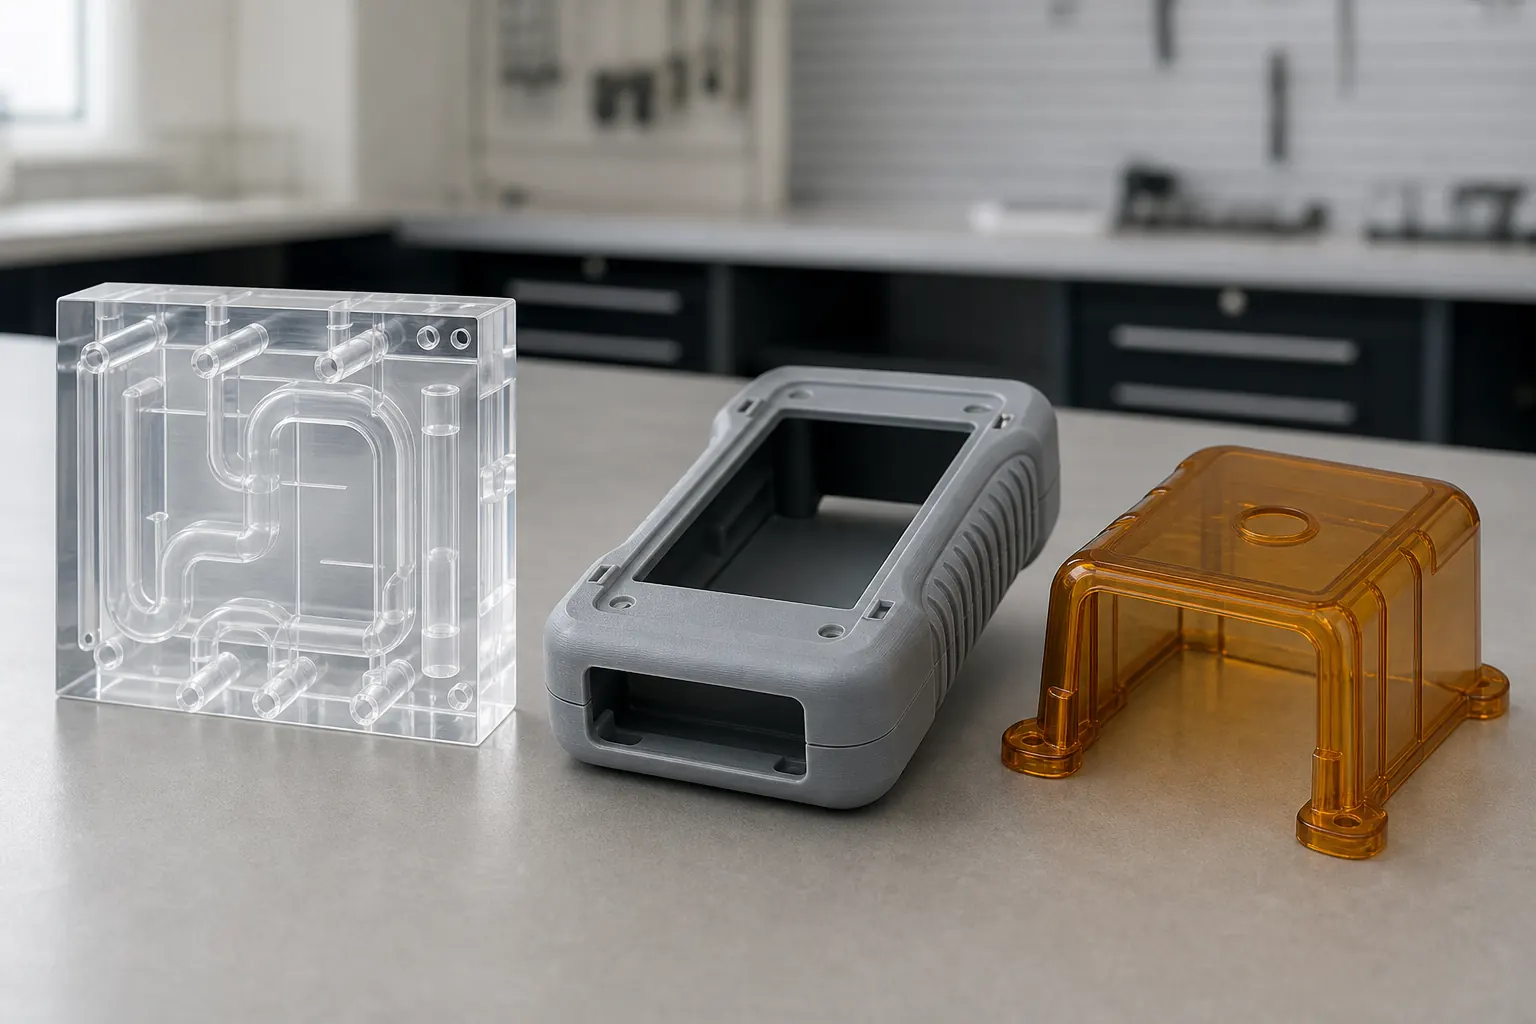
Stereolithography (SLA) uses light to cure liquid photopolymer resin in a vat. Quote smooth appearance models, clear flow prototypes, detailed housings, and engineering-resin parts with resin-specific washing, curing, and finish review tied to your CAD.
- Typical quote response
- < 24 hrs
Typical standard-polymer lead time
Tracked on-time delivery
Walls, drainage, supports, and orientation
Inspection and documentation scoped in the quote
When SLA is a strong fit
SLA is most useful when resin detail and surface appearance matter more than a production thermoplastic's long-term material behavior.
Smooth appearance surfaces
Use SLA for housings, bezels, handles, and presentation models where surface continuity matters before paint or tooling.
Small features and controlled geometry
Thin ribs, embossed labels, ports, and internal channels can be reviewed against the selected resin and build orientation.
Clear-part development
Transparent resin can expose fluid paths, light paths, and internal assemblies. The quoted resin and finish determine the final clarity.
Fast design iteration
Compare revisions before committing to molding or machining, with DFM feedback tied to the actual CAD file.
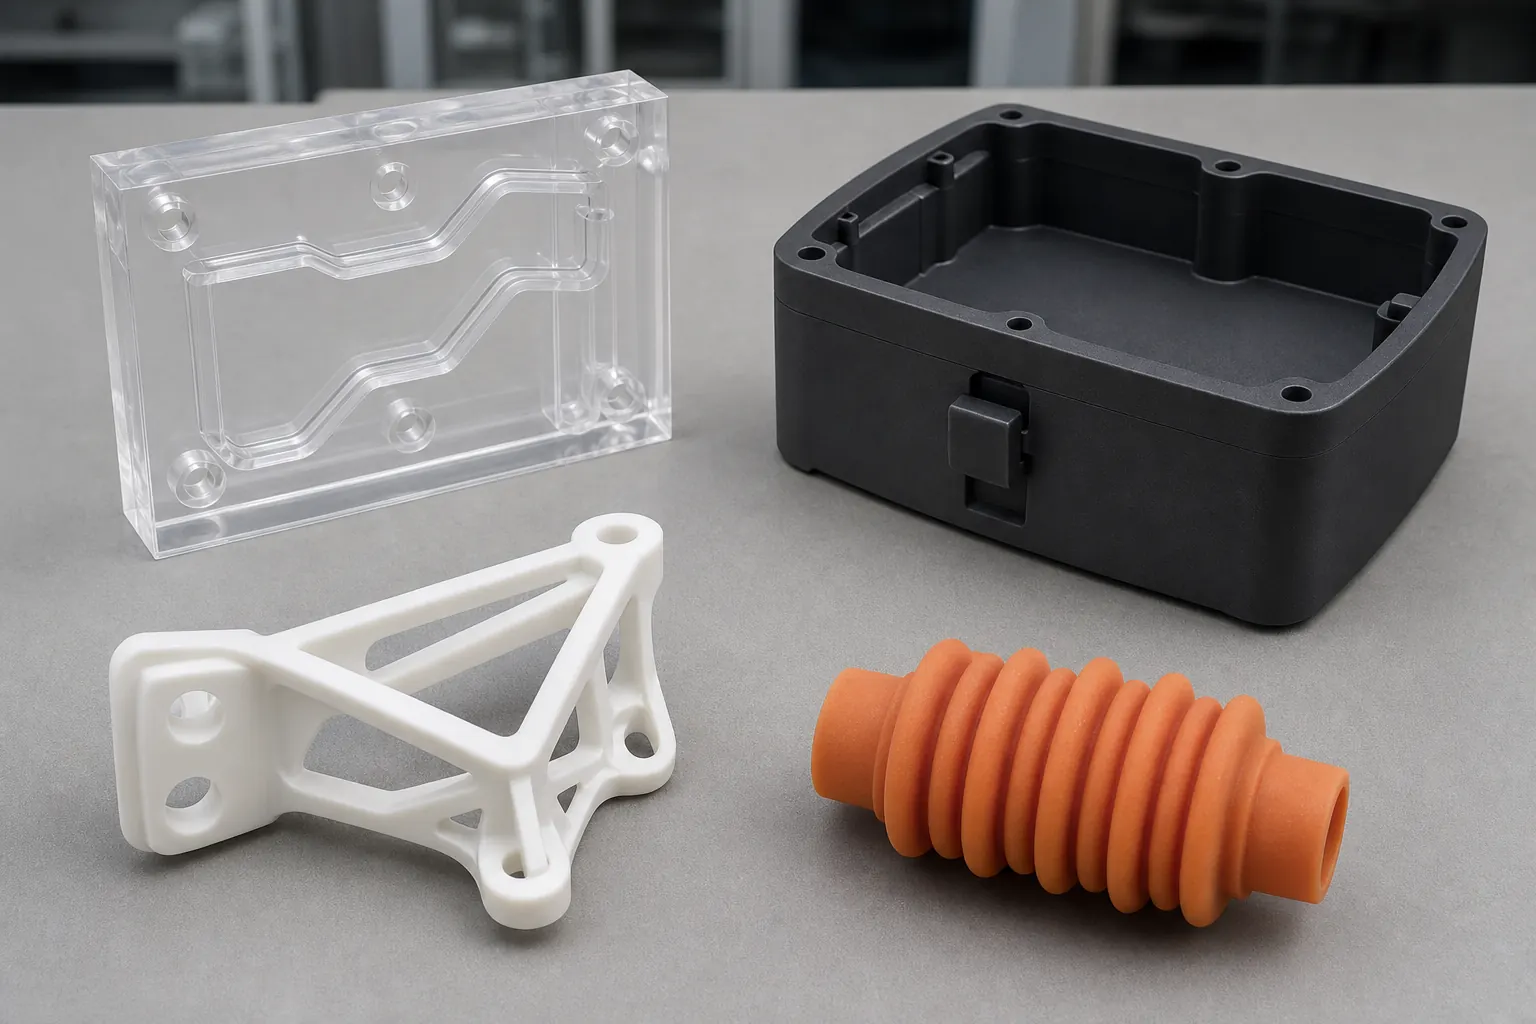
Select the resin around the use case
“Tough,” “rigid,” and “high-temperature” are material-family labels, not acceptance criteria. State the load, environment, finish, and documentation requirement.
Clear and translucent
Flow visualization, lighting studies, lenses, covers, and internal-feature reviews.
Near-optical clarity may require a compatible resin, suitable geometry, and quoted polishing.
Tough and durable-style
Snap-fit studies, housings, clips, and functional prototypes that need more handling resistance.
Resin-family names are comparative. Confirm impact, flex, and aging data on the exact datasheet.
Rigid and filled
Jigs, fixtures, thin features, and dimensional models that benefit from higher stiffness.
Filled materials can change brittleness, finish, feature limits, and post-processing.
Heat-resistant
Thermal-fit checks, airflow fixtures, and short-duration hot-environment evaluations.
Temperature rating depends on load, duration, cure, environment, and the quoted grade.
Flexible and elastic-style
Seals, grips, bellows, soft-touch studies, and compliant geometry prototypes.
Ask for the target hardness, tear behavior, wall thickness, and cycle expectation.
Special-purpose
Castable, dental, medical-development, flame-rated, or other documented requirements.
Availability is not approval for use. State the exact standard, exposure, cleaning, and documentation need.
For biocompatibility, sterilization, flame rating, food or fluid contact, weathering, or chemical exposure, include the governing standard and use conditions in the RFQ. A generic resin-family name does not establish suitability.
How the SLA workflow works
The print is only one step. Orientation, washing, resin-specific curing, support removal, and finishing all affect the delivered part.
- 01
Review CAD and requirements
Share the 3D model, quantity, finish target, critical dimensions, and any material or documentation requirement.
- 02
Select resin and orientation
The supplier reviews wall sections, trapped resin, drainage, supports, cosmetic faces, and critical datums.
- 03
Print and complete resin-specific post-processing
The build is printed in liquid photopolymer, then washed and dried. Post-curing is completed only when required by the quoted resin and process.
- 04
Finish and inspect
Supports are removed and the quoted sanding, painting, polishing, or inspection scope is completed.
Start with reference geometry, then review the actual part
These values come from one OEM example for Clear Resin on a Form 2 at 0.004 in. (0.10 mm / 100 µm) layers. They are reference baselines—not universal SLA limits or delivered-part tolerances.
| Feature | OEM reference baseline | What still needs review |
|---|---|---|
| Supported wall | Start near 0.016 in. (0.4 mm) | Increase for handling, spans, heat, load, or a brittle resin. |
| Unsupported wall | Start near 0.016 in. (0.4 mm) | Height and unsupported area often drive a thicker wall. |
| Raised detail | Start near 0.004 in. (0.1 mm) | Check readability, paint, cleaning, and the chosen orientation. |
| Engraved detail | Start near 0.016 in. (0.4 mm) | Depth and width both affect cleanup and legibility. |
| Moving-part clearance | Start near 0.020 in. (0.5 mm) | Use more clearance for large mating areas or trapped resin. |
| Small hole | Start near 0.032 in. (0.8 mm) | Orientation, depth, and resin drainage affect open-hole results. |
| Drain hole | Start near 0.138 in. (3.5 mm) | Size and position for washing, venting, and uncured-resin removal. |
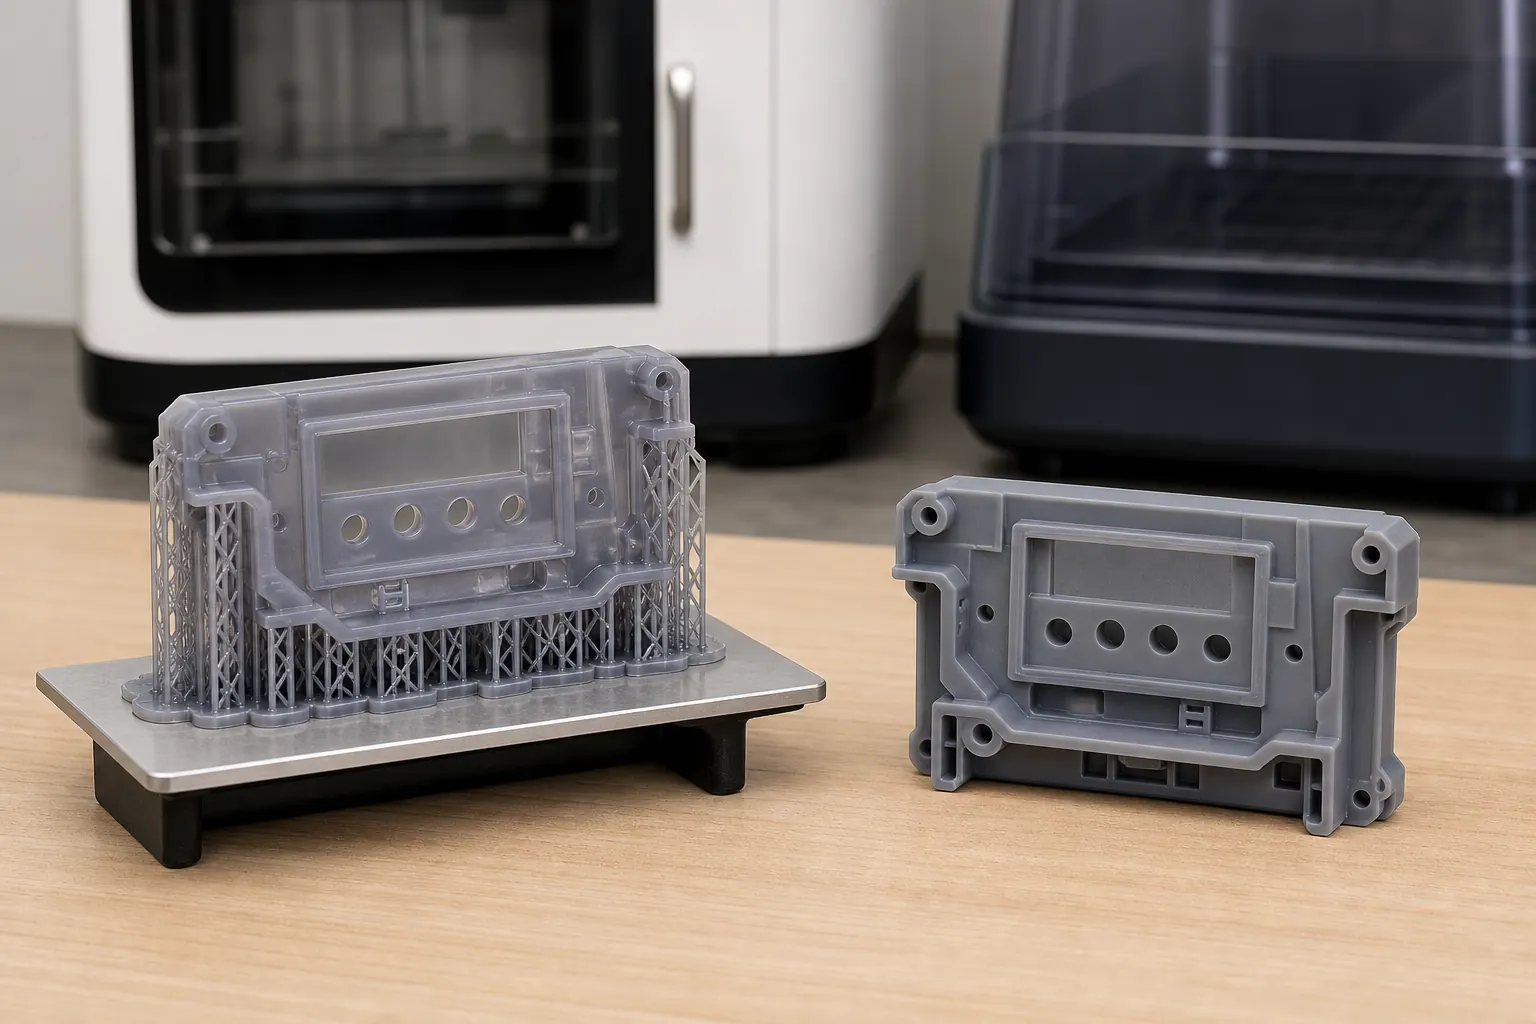
Support contacts cross the primary cosmetic face and a critical opening.
Support contacts move toward a hidden underside, away from the primary viewing face.
Put critical dimensions on a drawing
Layer height and pixel size do not establish delivered accuracy. Part size, resin, orientation, support, cure, geometry, and inspection method all matter.
- Identify datums and critical-to-function dimensions.
- State fit, flatness, surface, and inspection requirements.
- Name the intended environment and load condition.
- Confirm build envelope and section strategy in the quote.
SLA vs. FDM vs. PolyJet
No process wins every project. Use the geometry, material behavior, finish, and budget to narrow the choice.
| Decision factor | SLA | FDM | PolyJet |
|---|---|---|---|
| Feedstock | Liquid thermoset photopolymer | Thermoplastic filament | Jetted photopolymer |
| Typical fit | Smooth single-material appearance parts and detailed resin geometry | Broad thermoplastics, larger fixtures, and concept models | Multi-material, color, and soft-touch appearance models |
| Support workflow | Separate supports are removed after printing | Breakaway or soluble support, depending on the platform | Gel-like support material is removed after printing |
| Design watch-out | Cure behavior, trapped resin, support witness, and material aging | Layer lines, directional behavior, and unsupported overhangs | Support cleanup, material exposure limits, and project cost |
Parts teams commonly quote in SLA
The use case sets the resin, finish, and inspection conversation. These examples are starting points rather than blanket material approvals.
Appearance housings
Review form, seams, ports, buttons, paint, and assembly access before production tooling.
Transparent flow or lighting models
Expose channels and internal components for design review when the selected clear resin and finish are suitable.
Master patterns
Produce smooth patterns for casting or molding workflows, with shrink and finish allowances set by the downstream process.
Ergonomic and form-fit models
Evaluate handles, interfaces, clearances, and assembly sequence with detailed physical prototypes.
What to upload for a useful SLA review
A resin name alone is not enough. Give the engineer the geometry, use conditions, and acceptance criteria needed to compare material and build choices.
- 3D CAD file with critical geometry and datums preserved
- Quantity now and expected repeat quantity
- Target resin behavior, color, and surface finish
- 2D drawing with datums, critical dimensions, and inspection criteria
- Load, temperature, chemical, UV, fluid-contact, or regulatory conditions
- Required delivery location and need date
What the quote should confirm
The accepted quote—not a generic web value—sets the manufacturing and delivery commitment for your part.
- Selected SLA process and quoted resin grade
- DFM findings for walls, drainage, trapped resin, supports, and orientation
- Post-processing, cosmetic finish, and support-witness expectations
- Confirmed tolerance, inspection, and documentation scope
- Price, quantity, and quoted delivery schedule
RFQ submission includes a free DFM review. Final scope remains subject to supplier review and quote acceptance.
Compare before you quote
Use the deeper process guide for education, the main 3D-printing page for process selection, or the materials library to work backward from requirements.
Study the process, resin behavior, design considerations, and technical background in more depth.
Compare SLA with SLS, MJF, FDM, PolyJet, DMLS, and other additive processes.
Start from mechanical, thermal, cosmetic, and compliance requirements before selecting a process.
SLA 3D printing questions
Short answers for sourcing, design, material, and process-selection decisions.
Quote the resin around the requirement
Upload the CAD file, quantity, finish, critical dimensions, and material conditions. You will receive a free quote with DFM feedback and quote-specific manufacturing scope.